MINT User Interface Walkthrough
Log in and region overview
Let's start loging in and selecting a region of interest.

Once you are logged in and have selected a main region, the top menu will show you new options.

The top menu gives you access to the main sections:
Exploring areas
The explore areas section has three main categories: agriculture, hydrology and administrative areas.

Each category presents a group of subregions.

Clicking a region on the map will search the MINT catalogs for models configured for that region and datasets with data for that region.


Clicking on a model or dataset result will send you to its detailed description page.
Preparing models
In the prepare models section, you can explore the MINT model catalog using the browse and compare capabilities.
You can also add and edit your own models and configure them to work for specific regions and parameters.
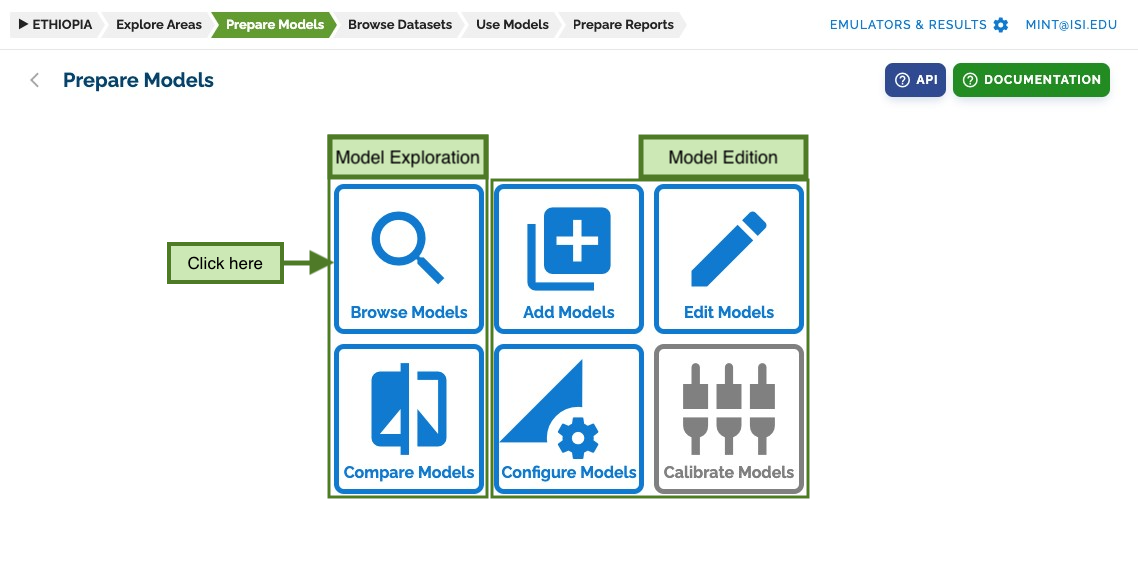
Let's start exploring the model catalog by clicking on Browse Models
Exploring models
The model browser shows a preview of all models in the catalog and allows you to search for them by indicator, variable, region, and more.
The model preview shows the model icon and basic model information. Clicking on More details will display the model's full information.

This page shows all the information related to the model. As default, it shows the latest model configuration, but you can change to a specific configuration and setup with the top selectors.
After that, we can see basic model metadata and below several tabs with more details.

The overview tab shows the model purpose, assumptions, and other non-configuration specific data.

And a preview of the selected configuration and setup. Relevant information is presented for each case.

The Inputs and Outputs tab shows all the inputs and parameters necessary to run this configuration, and the outputs that this model generates.
If a setup is selected, this tab also shows the values pre-selected for that configuration setup.


The Variables tab shows all the variables that each file specification requires for this model configuration.

Clicking on the input file name shows a table with all the variables for that file.

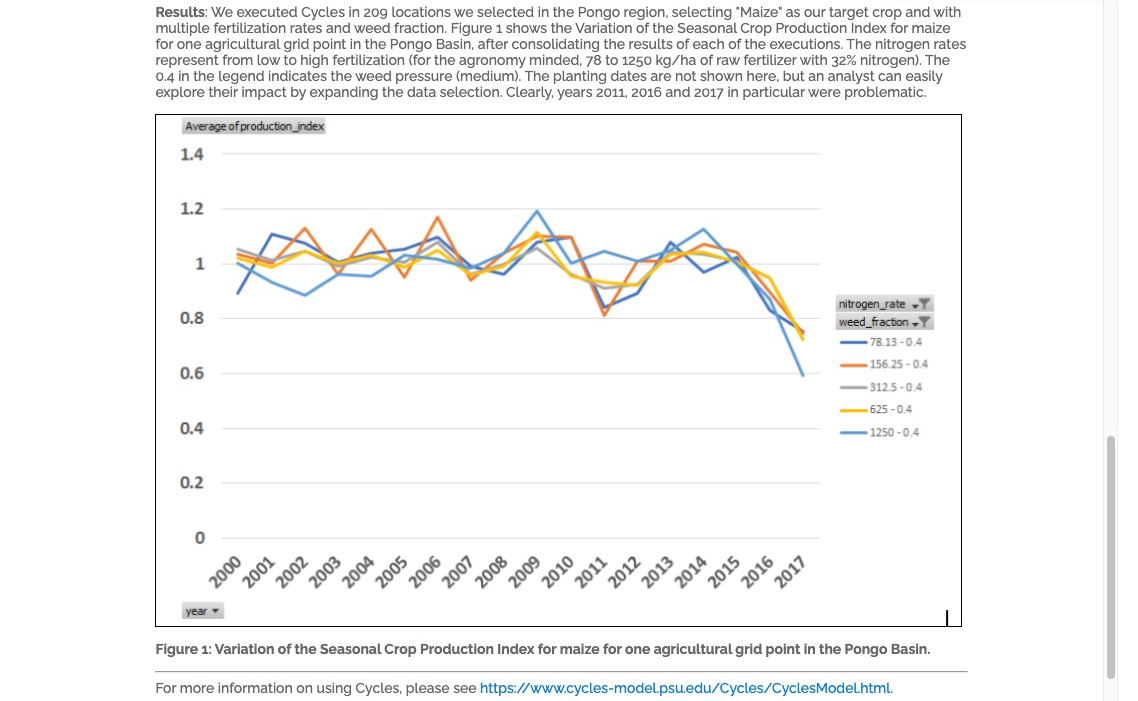
The Example tab shows an example written for this model configuration.
Examples are written in markdown and support the addition of images.

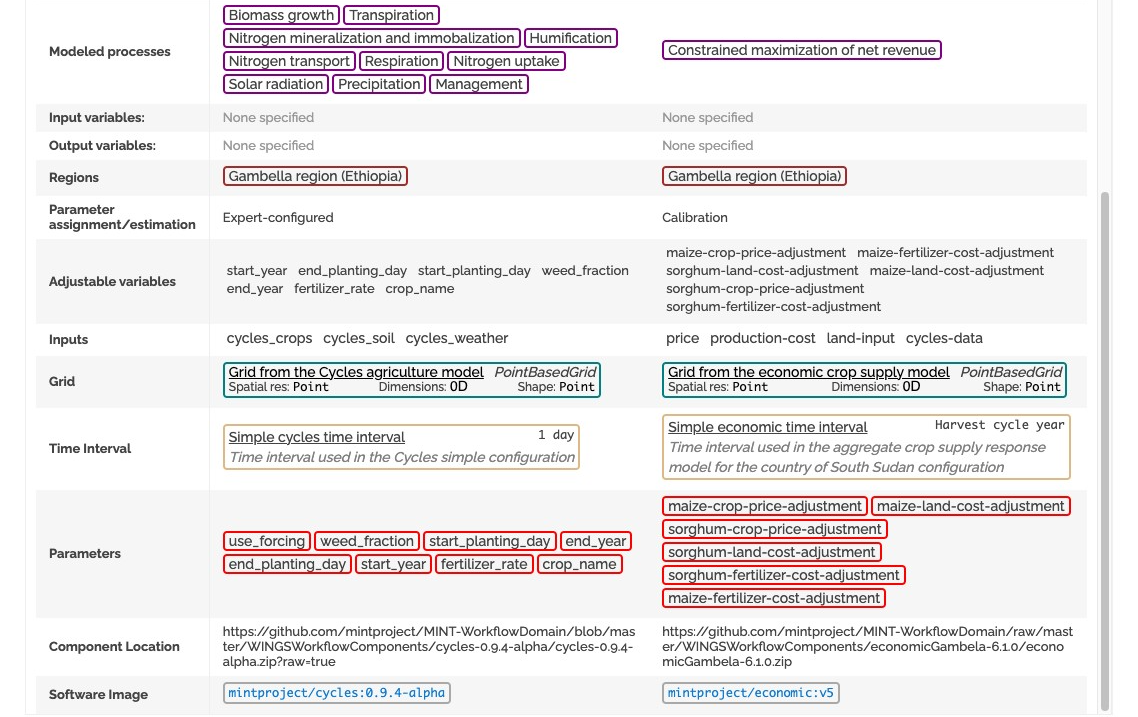
The Technical information tab collects all the information needed to run this model, configuration and setup.
This includes the direct command to run this model using DAME.

Comparing models
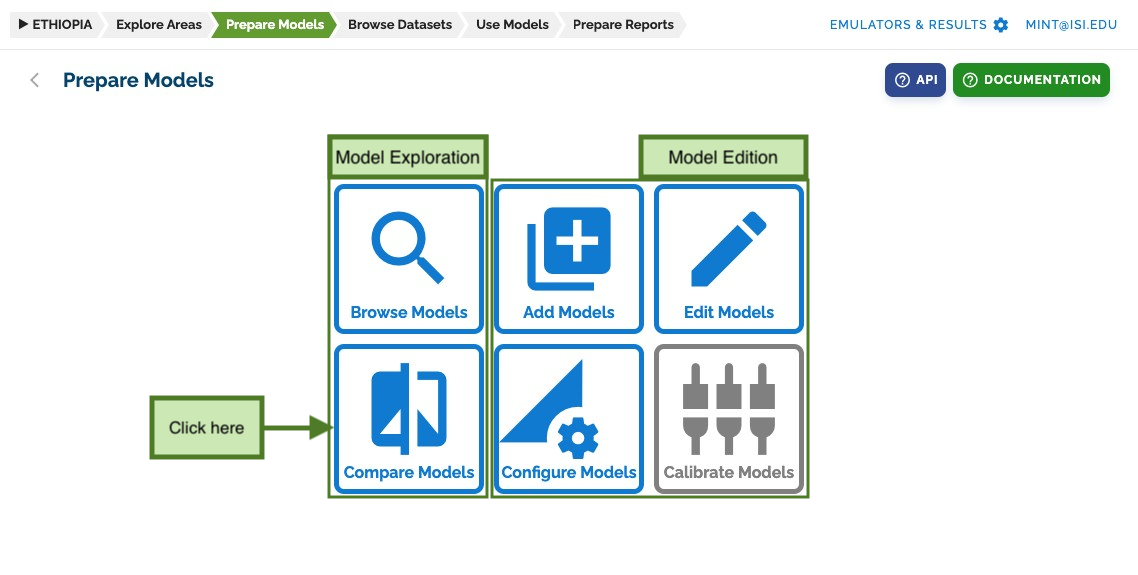
To compare models, go to the prepare models section and click on compare models.
A list of all models, versions, configurations, and setups of the MINT model catalog will be shown on the left.
Clicking on their names will add them to the comparison table.

You can compare setup specific data too:
Adding models and versions
To add new models and versions to your catalog, go to the prepare models section and click on add models.
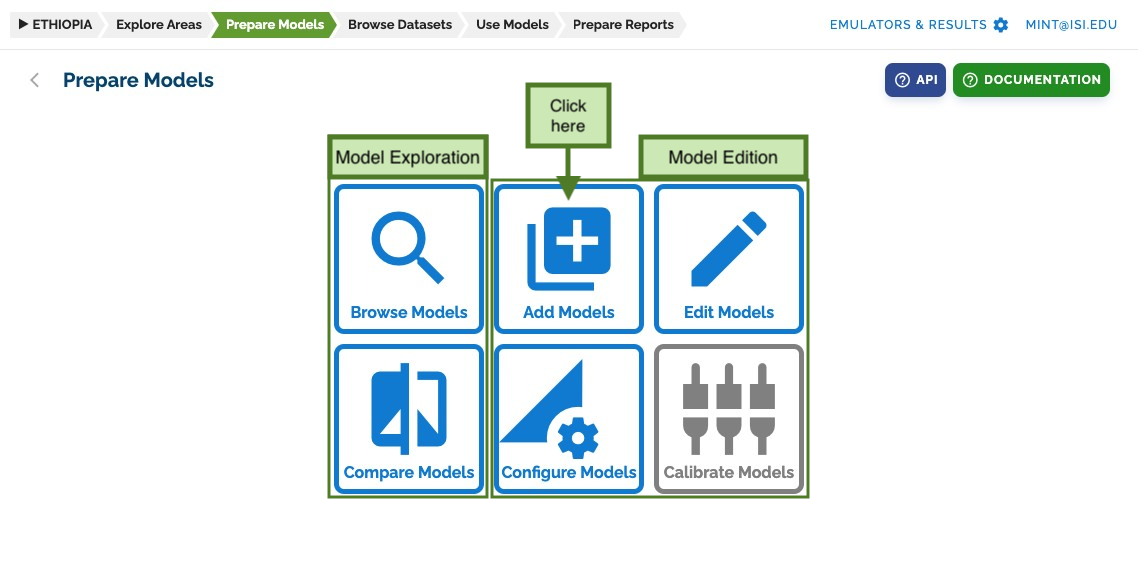
The add models page presents a form that can be filled out to add a new model to the catalog.
Some information should be provided as text, but more complex resources are defined through specific forms.
You will see an edit button to the right of each model catalog resource.

Clicking this edit button opens a new dialog. Here you can select resources already in the catalog or edit/create new ones.
 When creating a new resource, a specific form with all necessary information will appear.
Fill it up to create a new resource. For this example, a new category only needs a name and description.

More complex resources have more detailed previews, but follow the same principles for creating, editing, and removing them.
 Creating complex resources requires more information. This is the form to add a new grid specification to the model catalog.

Once a model has been created, you can edit it by going to the prepare models section and clicking on edit models:
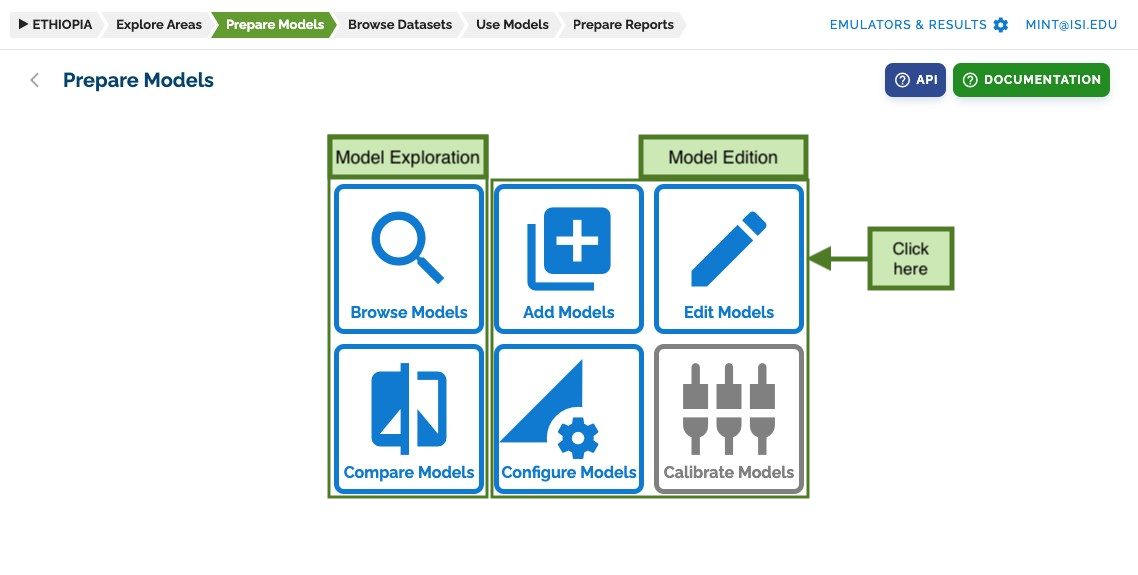
The edit models page shows a tree on the left with all models and versions defined in the model catalog. Versions are a way to group configurations that share the same software revision. Models are organized by category and all versions are grouped under their corresponding model.
On the right you can see a preview of the model. Clicking on the edit button will make it editable.

In edit mode, you will see an interface very similar to the add models page we have seen before.

Adding model configurations and setups
To add new model configurations and setups, we need to go back to the prepare models section and click on
configure models:
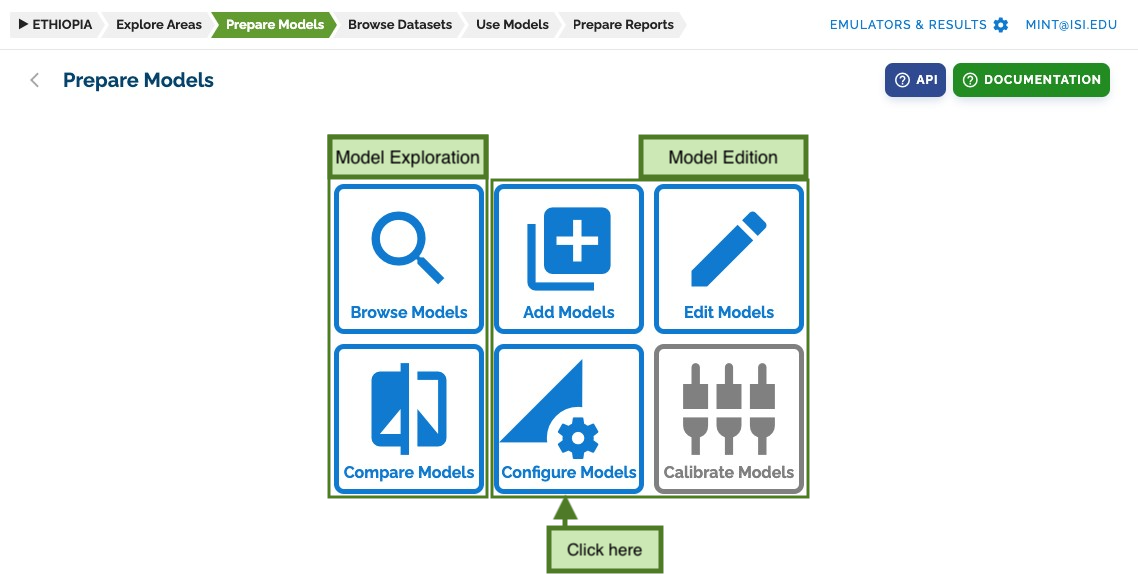
The configure models page presents a tree similar to the one we have seen on edit models, but this time
two more levels are added: Model configurations (green) below versions and setups (blue) below configurations.

A configuration refers to a specific software running with a specific set of parameters and files.
You can click on the expand button to better see the information this configuration provides.
 For input parameters, a configuration provides their description, order, default values and other important metadata.
 For input and output files, a description of all the variables that this file must contain is expected.

You can add a new configuration by clicking add new configuration or edit an existing one by clicking edit.
 You can add, edit or remove parameters for this configuration.
 Clicking on the edit parameters button will display a specific form to add parameters for configurations.

The same applies to input and output files:

 Once we have finished creating our configuration, we can create a new setup for this configuration.
We call the most inner level of a configuration a setup. A setup is a configuration with specific values for parameters and files.
You can create or select an existing setup by clicking on the left panel:
 This page is similar to the one used to edit configurations, but changes what you can do with parameters and files.
In a setup, you can not add nor remove parameters nor files. You can only set specific values for each.

 For parameters, you can set a pre-selected value or mark the parameter as adjustable for the user on the modeling step.
 For input files, you can set a specific file or collections of files to be pre-selected for the modeling step.

Exploring data
To explore data, you must go to the Browse Datasets section and click on Browse datasets.

This page allows you to search datasets by name or description, for time interval or by drawing a polygon on the map.

All matching datasets will be shown on the left panel. Clicking on one will change the contents of the page to reflect
the data resources on the map, the time interval, and other relevant information.

Modeling
To use the models, you must go to the User Models section and select a problem statement or create a new one.

Each problem statement can have multiple tasks. You can edit or remove existing ones.
 Creating a task requires you to specify a response of interest and a time interval.

Once a task is created, the system will create a default thread. Threads are a way to group similar model executions on the same task.
Each task consists of a series of steps that must be followed to run the models correctly.
The first step is to select a model configuration setup you want to run from the list of models that matches your task specification.

Once a model configuration setup is selected, all pre-selected datasets will be added and the user will be asked to select them.
all datasets that were not specified in that setup.
 You can click on the expand view button to go through the modeling steps.
If there is no data that matches all the variables specified in the input specification, the system will recommend datasets with a partial match.

Once all datasets have been selected, we need to set the parameters for this run. Using multiple parameters will generate multiple runs.
 Once all parameters are set, we send the runs.
The system will show you a preview of each run and update you on the run status.

When all runs are done, the tab Results will activate. Here you can see and download all the files generated during your model execution.

Some models can even generate a visualization, but this feature is not common at this moment.

Reporting
The MINT UI can generate simple reports for model runs.
For this, go to the Prepare reports section.
Here you will see all the threads grouped by problem statement.

Clicking on a thread name will show you a page with a resume of that thread's execution.
